The Vented Range
Panfans Vented range is ideal for new builds and renovations. The Vented model has featured in a number of modern commercial buildings, cafes and homes.
The range is now also available in brushed or brushless.
And comes with three switching options
Manual - wired into a light switch on the wall
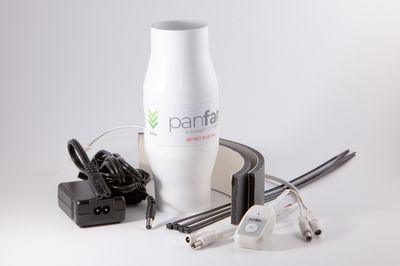
Timer Switch - wired to our timer switch with manual on auto off function
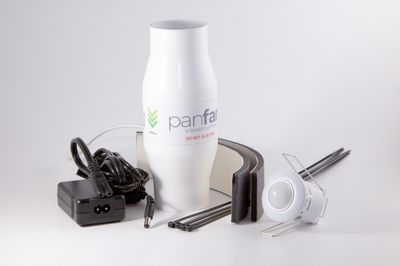
Auto - Wired up using our PIR Auto sensor
Brushed Models
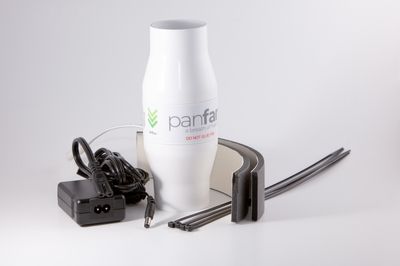
Base Kit
Timer Switch
Auto Sensor
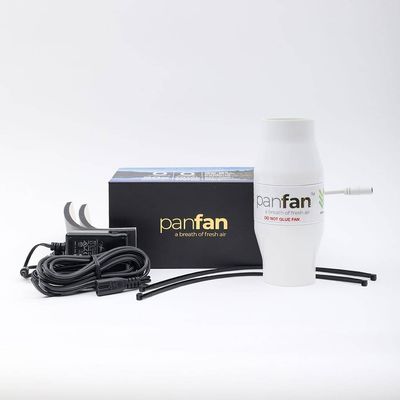
Brushless Models
Base Kit
Installation
Pre-line Piping
Pipe work is to be 40mm and up to 20meters in length.
Caution : Fine dust should be stopped from entering pipe during construction as it could damage fan motor when powered up.
In-wall Cistern
Drill a hole in the top of the cistern.
Fit 40mm valve socket and connect pipe work
PLEASE NOTE : The cistern air cavity must be suitably sealed with silicon or duct tape so as to reduce vacuum loss. eg. spare water inlet hole, open joints between cistern proper and top cover.
Pipe work is to exit wall to enter cistern just under the lid.
CAUTION : ensure that if cutting a hole in ceramic cistern that care is taken to avoid damage as vitreous china is fragile.
Ceramic or Plastic Cistern
Cutting ceramic. There are two commonly used methods used – can refer to glass cutter or tile shop
1. Mark cistern to match pipe
2. Angle grinder (approx 2 minutes) - cut a series of slots 5mm apart with a tile cutting disc. Break off with finger.
3. Drill (approx 10 minutes) – use diamond tip hole saw
4. Use sealant around pipe and water inlet (if it enters through back of cistern)
NOTE a 30mm (minimum) entry hole into cistern is required
5. All pipe work must fall to an outlet or back to the cistern to drain condensation.
6. For vertical and awkward framework penetration, a 32mm quality pool hose maybe used but care MUST be taken to ensure correct fall for any moisture to drain out to avoid gurgling or cause a blockage.
7. Pipe vent can exist building through suffet, wall, wooden floor or roof but must have rain hat or bends to prevent excessive water entry.
NOTE : Check your local bylaws for odour ventilation terminations.
Fan
8. The fan can be mounted anywhere in–line but, MUST be located so that servicing can be carried out at any time after installation. eg in cupboard, accessible ceiling space, above roof, under wooden floor, outside wall etc.
9. The fan can be installed at any angle but must NOT be installed in a horizontal position so as to hold moisture as motor failure would be inevitable.
10. DO NOT GLUE fan to pipe but leave a 5mm gap and join using foam supplied. Ensure pipe work is secured to prevent foam joint failure over time. Cable ties are to secure foam to pipe and fan.
11. To test air draw through toilet, seal the bowl with kitchen film. Let air in and watch film. Should tighten (concave) with fan running.
Electrical
12. Connect the Power Supply (P/S) to a continuous power source and locate in suitable position for easy servicing. eg in ceiling or inside wall cavity (it is suitably sized to fit through a standard light switch hole) and place on nog. (cables must not be coiled up)
The power supply will only supply one fan. The fan should not run for prolonged or unnecessary durations.


